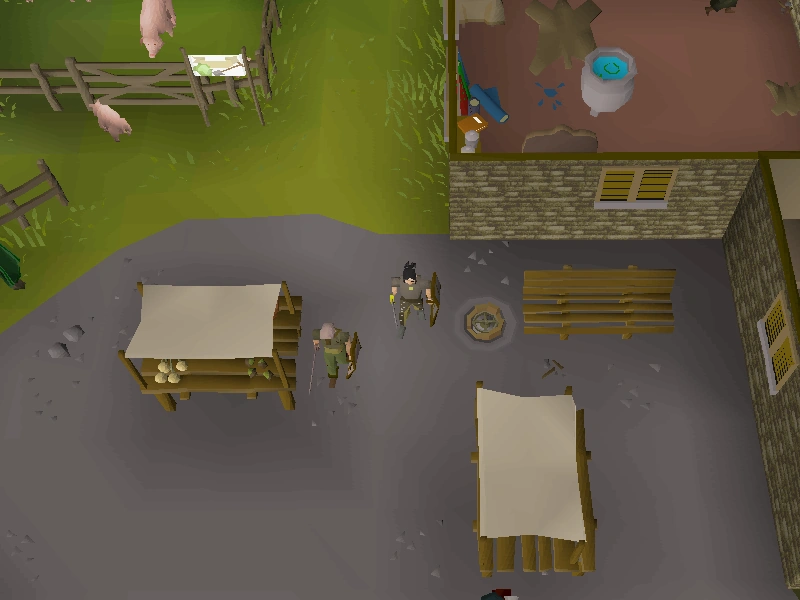
Emote clues
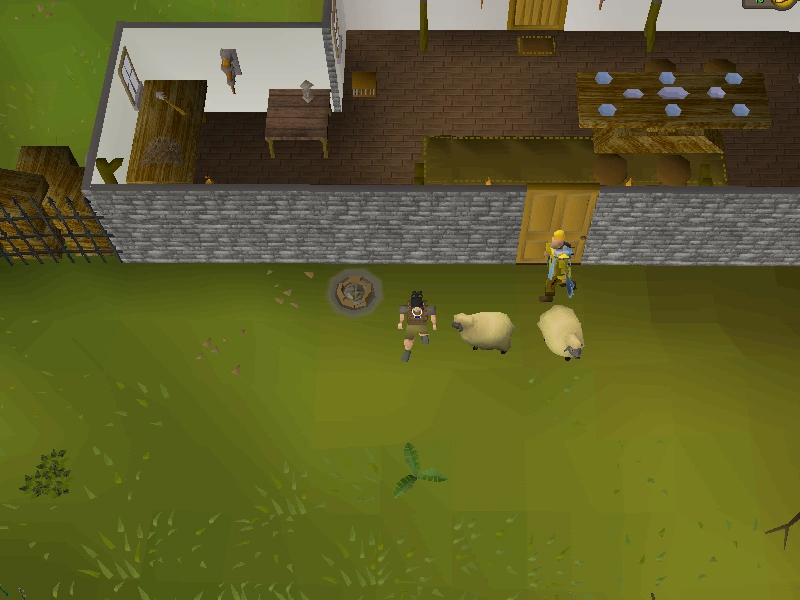
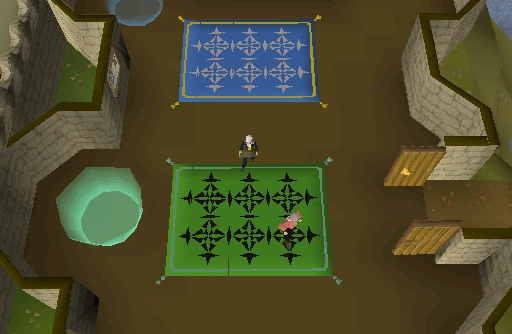
Emote clues involve equipping certain items in a particular location and performing an emote. These types of clues are featured in all levels of clue scrolls, and most (but not all) items required for the emote clues can be obtained in shops. Once the emote has been performed, an NPC called Uri will appear and usually give the player a casket. If the player has been requested to do another emote before talking to Uri, and they forgot to do it, he will say, I don't believe we have any business... but will not leave. The player can then complete the second emote and finish the clue. Level 1 clues require doing 1 emote, level 2 clues require doing 2, and level 3 clues require doing 1 emote and fighting the double agent.
Note that wearing any version of a required item different than the standard one will not work (for example; a rune platebody(t) will not work in place of a basic rune platebody).
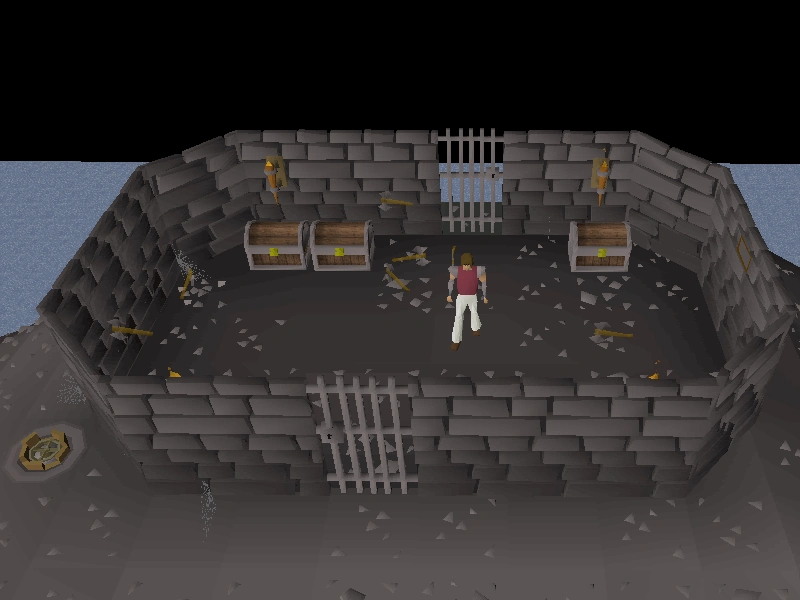
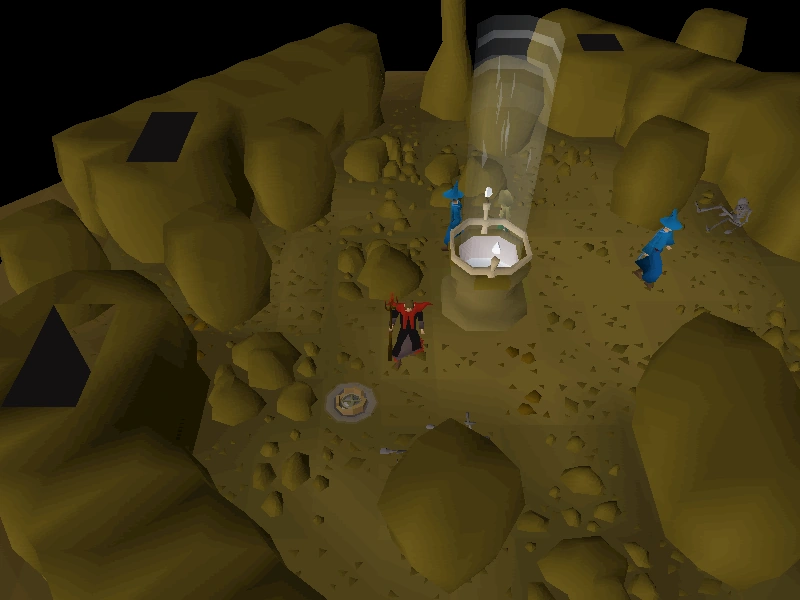
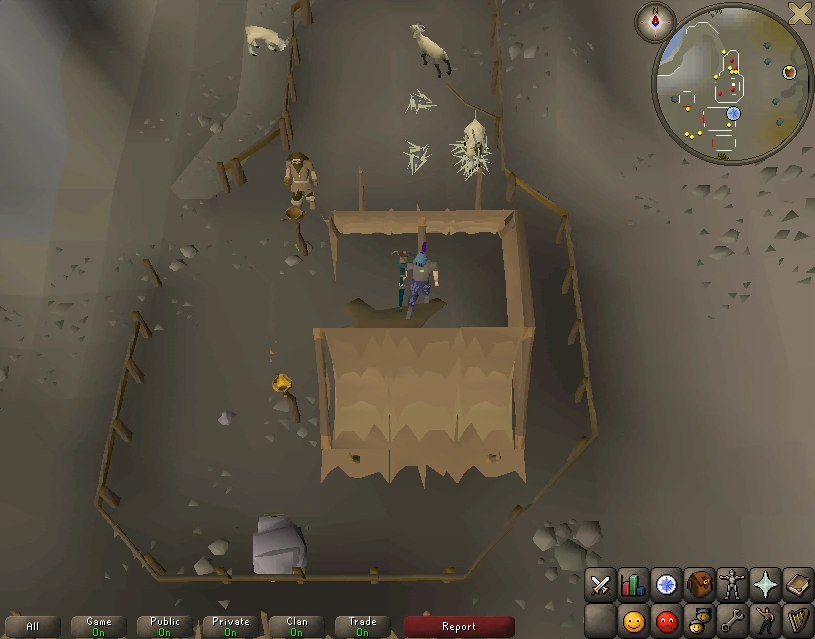
For level 3 clues, doing the emote will not summon Uri but instead an aggressive NPC known as the Double Agent, which uses only melee attacks and is weak to magic. If the agent appears, the player must kill him and perform the emote again, with all the original items from the clue equipped. Note: If the items for the clue are equipped upon killing the double agent, Uri will appear automatically, without having to repeat the emote. The player can change equipment to take out the double agent but must change back after killing him in order to make Uri appear.
Items
For players that do treasure trails frequently, it is often economical and time-saving to keep the items for the clue level(s) they do most often in their bank. It is not recommended, however, to keep items for all emote clues banked, as hundreds of different items are used across the clue levels.
Players with the appropriate construction level can build a STASH unit, where players can store emote clue items near where the emote clue is located, saving bank space for players who do treasure trails frequently.
List of clues
Angry
| Clue | Items | Notes | Map | Level |
|---|---|---|---|---|
| Show your anger towards the Statue of Saradomin in Ellamaria's garden.
Beware of double agents! Equip a Zamorak godsword. |
75 attack is required to wield the Zamorak godsword. Completion of Garden of Tranquillity is required. | 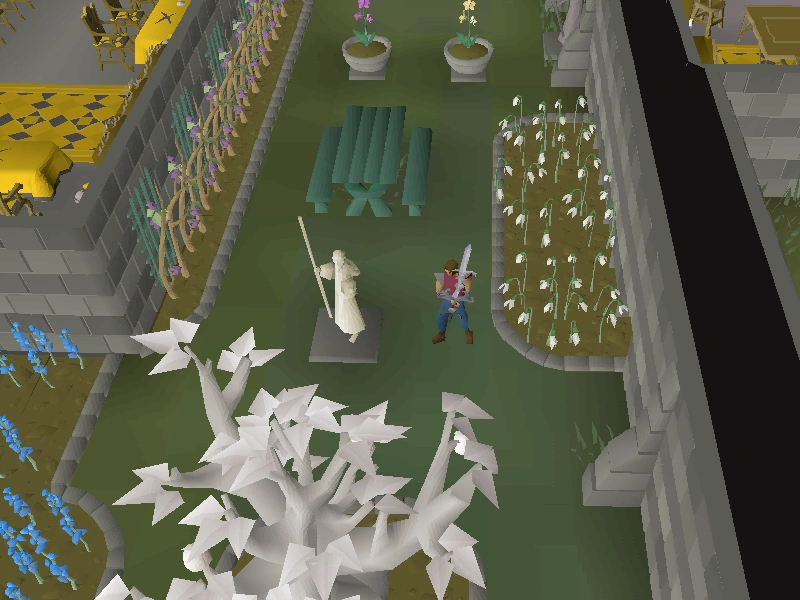
|
5 | |
| Show your anger at the Wise old man. Beware of double agents! Equip an abyssal whip, a legend's cape and some spined chaps. | A volcanic abyssal whip or frozen abyssal whip can be used for this clue. | 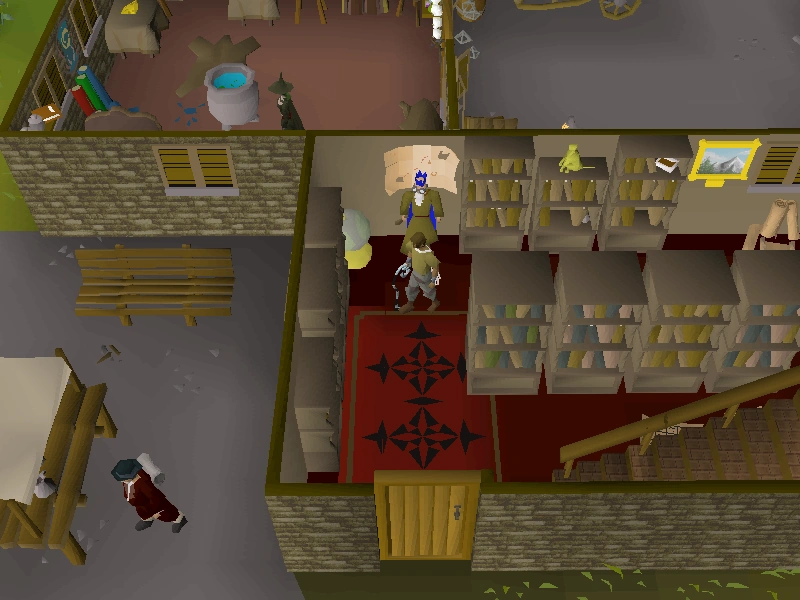
|
5 |
Beckon
| Clue | Items | Notes | Map | Level |
|---|---|---|---|---|
| Beckon in the Digsite, near the eastern winch. Bow before you talk to me
Equip a green gnome hat, snakeskin boots and an iron pickaxe. |
|
2 | ||
| Beckon in Tai Bwo Wannai. Clap before you talk to me.
Equip green d'hide chaps, a ring of dueling and a mithril med helm. |
Do the emotes within the barricaded part of Tai Bwo Wannai. | 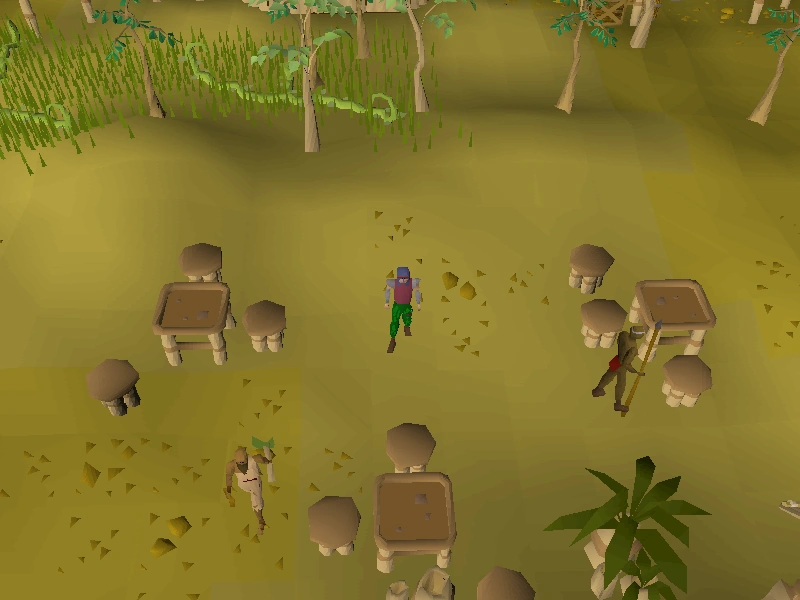
|
2 | |
| Beckon on the east coast of the Kharazi Jungle. Beware of double agents! Equip any vestment stole and a heraldic rune shield. | Must have started Legends' Quest. Equipping the stole requires level 60 Prayer.
NOTE: A hatchet and machete (or the agility shortcut) are required to enter the Kharazi Jungle. |
|
3 | |
| Beckon in the combat ring of Shayzien. Show your anger before you talk to me. Equip an adamant platebody, adamant full helm and adamant platelegs. | The combat ring of Shayzien is located southeast of the bank. | 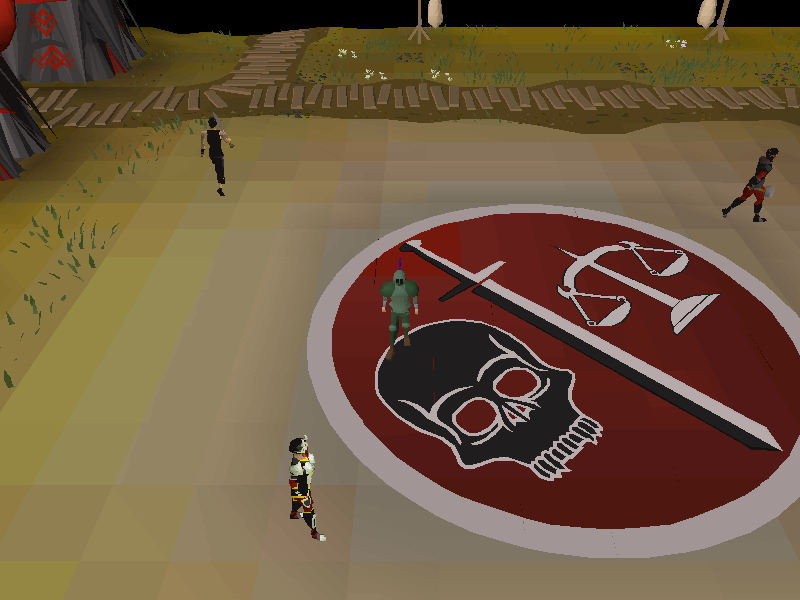
|
2 |
Bow
| Clue | Items | Notes | Map | Level |
|---|---|---|---|---|
| Bow near Lord Iorwerth. Beware of double agents! Equip a new imbued crystal bow. | The bow must be unused (New crystal bow on the Grand Exchange) and imbued from Nightmare Zone. | 
|
5 | |
| Bow outside the entrance to the Legends' Guild.
Equip iron platelegs, an emerald amulet and an oak longbow. |

|
1 | ||
| Bow in the ticket office of the Duel Arena.
Equip an iron chain body, leather chaps and coif. |
|
1 | ||
| Bow at the top of the lighthouse. Beware of double agents!
Equip a blue d'hide body, blue d'hide vambraces and no jewellery. |
Must have repaired the lighthouse lighting mechanism in the Horror from the Deep quest to access. The fairy ring code ALP teleports you right outside the lighthouse. | 
|
3 | |
| Bow upstairs in the Edgeville Monastery.
Equip a completed prayer book. |
Players require a Prayer level of 31 to enter the Edgeville Monastery. Any completed god book is usable for this clue. | 
|
4 | |
| Bow on the ground floor of the Legend's guild. Equip Legend's cape, a dragon battleaxe and an amulet of glory. | Players require completion of Legends' Quest to access the Legends' Guild. An amulet of glory with any amount of charges will work. | 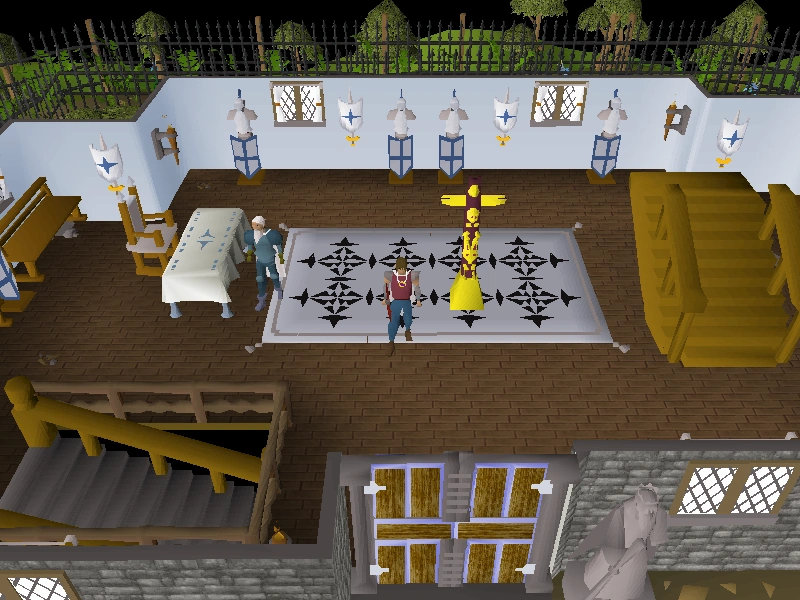
|
4 |
Blow Kiss
| Clue | Items | Notes | Map | Level |
|---|---|---|---|---|
| Blow a kiss between the tables in Shilo Village bank. Beware of double agents!
Equip a blue mystic hat, bone spear and rune plate body. |
Shilo Village is a village on Karamja. It is only accessible to players that have completed the Shilo Village quest. | 
|
3 | |
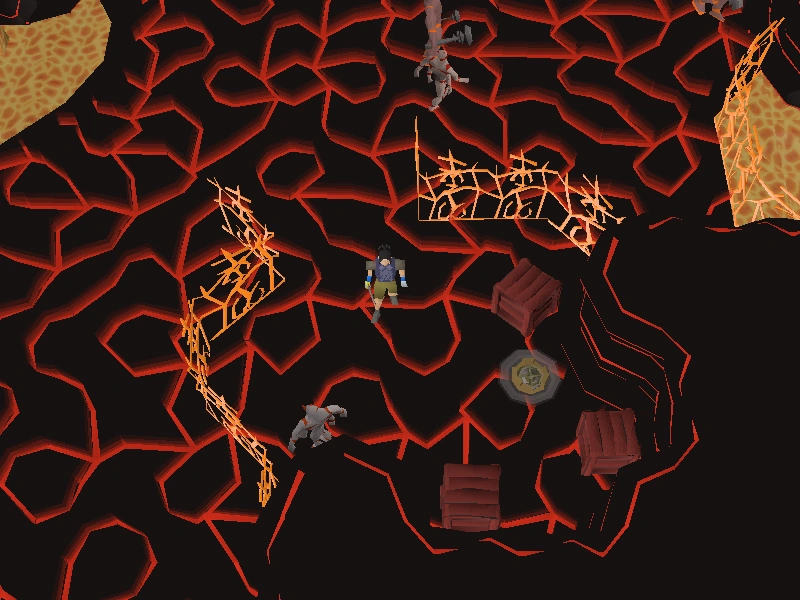
| Blow a kiss in the heart of the lava maze.
Equip black d'hide chaps, a spotted cape and a rolling pin. |
Perform the emote at the centre of the lava maze, next to entrance of the Lava Maze Dungeon. A slashing weapon or knife is required to navigate the maze. | 
|
4 | |
| Blow a kiss outside K'ril Tsutsaroth's chamber. Beware of double agents! Equip a Zamorak full helm and the shadow sword. | 70 Hitpoints is required to access this part of the God Wars Dungeon. Completion of The General's Shadow miniquest is required to obtain the shadow sword. | 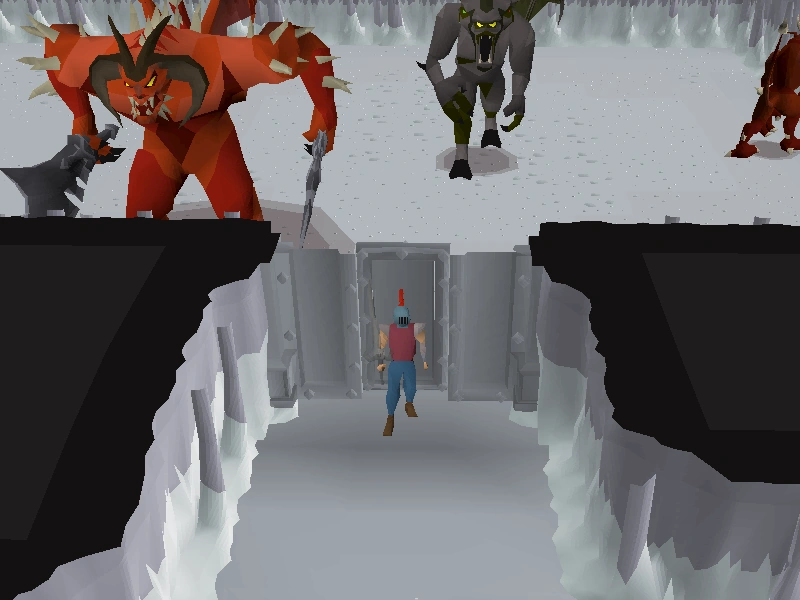
|
5 |
Cheer
| Clue | Items | Notes | Map | Level |
|---|---|---|---|---|
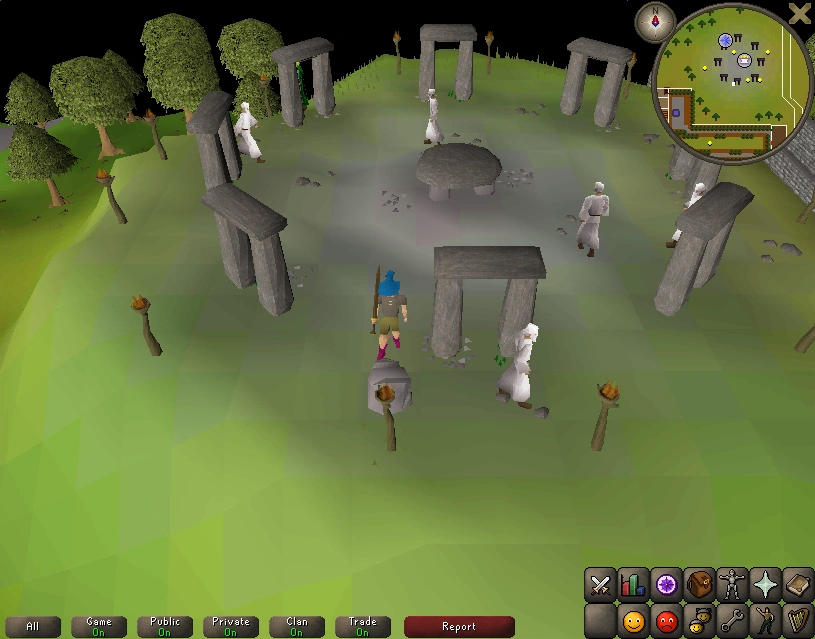
| Cheer at the Druids' Circle.
Equip a blue wizard hat, a bronze two-handed sword and HAM boots. |
|
1 | ||
| Cheer at the games room.
Have nothing equipped at all when you do. |
Nothing | 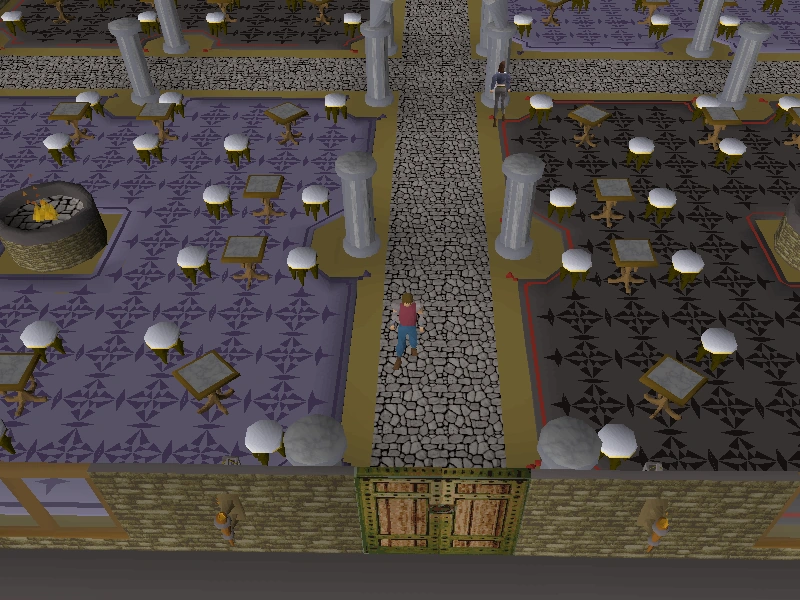
|
1 | |
| Cheer in the Barbarian Agility Arena. Headbang before you talk to me.
Equip a steel platebody, maple shortbow and a Wilderness cape. |
Requires miniquest Alfred Grimhand's Barcrawl and 30 in Ranged (to wield the Maple shortbow)
While level 35 agility is required to enter the arena itself, the clue can be completed without it. Upon entering from the gate, walk into the building located to the south. Inside the building walk to the most south-eastern corner, and do the emote. |
|
2 | |
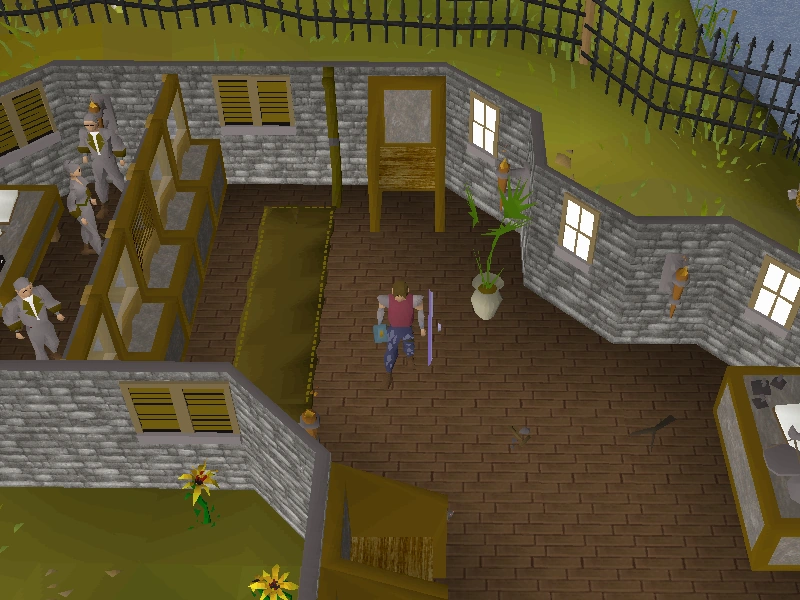
| Cheer in the Edgeville general store. Dance before you talk to me.
Equip a brown apron, leather boots and leather gloves. |
|
2 | ||
| Cheer in the Ogre Pen in the Training Camp. Show you are angry before you talk to me.
Equip a green d'hide body and chaps and a steel square shield. |
Access to the Combat Training Camp requires completion of the Biohazard quest. Equipping the green d'hide body requires completion of Dragon Slayer. | 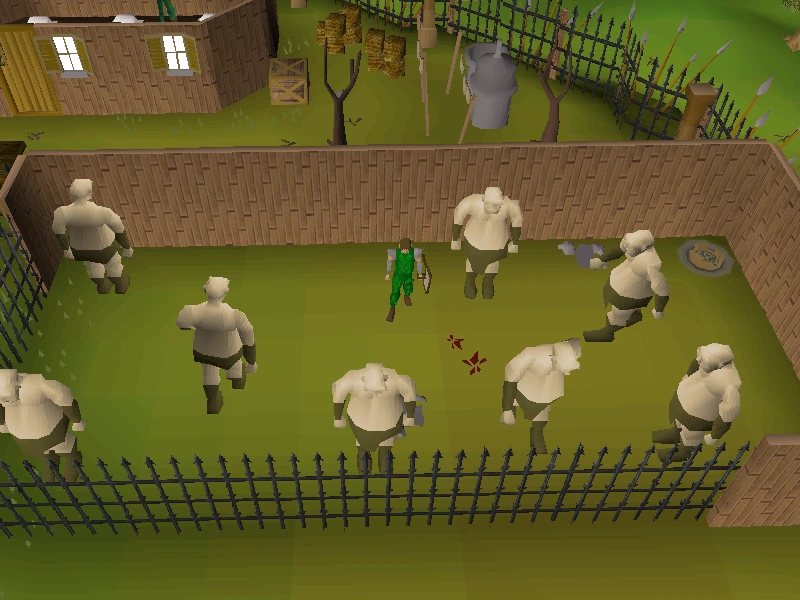
|
2 | |
| Cheer in the Shadow dungeon.
Equip a rune crossbow, climbing boots and any mitre. |
Requires partial completion of Desert Treasure. Bring a ring of visibility. | 
|
4 | |
| Cheer in the Entrana church. Beware of double agents! Equip a set of full black d'hide armour. | Players must take a needle, thread, and six black dragon leathers, and crafting the armour after arriving at Entrana. Players with level 88 in Construction can make a master STASH unit to store the d'hide armour in. | 
|
5 | |
| Cheer for the monks at Port Sarim.
Equip a coif, steel plateskirt and a sapphire necklace. |
Requires 20 Ranged for equipping the coif. | 
|
1 | |
|
Cheer at the top of the agility pyramid. Beware of double agents! Equip a blue mystic robe top, and any rune heraldic shield. |
Requires 30 Agility to reach the top of the pyramid. Only Mystic robe top (blue) works. | 
|
3 |
Clap
| Clue | Items | Notes | Map | Level |
|---|---|---|---|---|
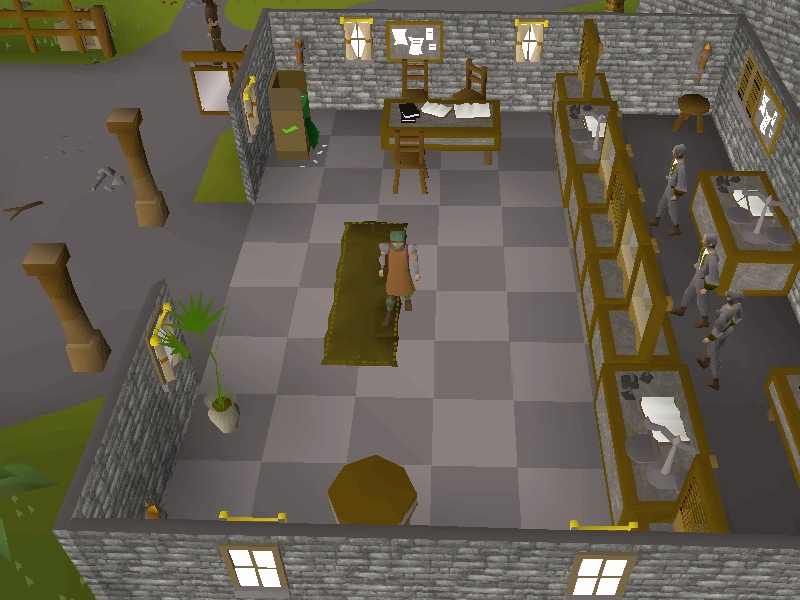
| Clap in the main exam room in the Exam Centre.
Equip a white apron, green gnome boots and leather gloves. |
The Exam Centre is located east of Varrock, just south of the Digsite. | 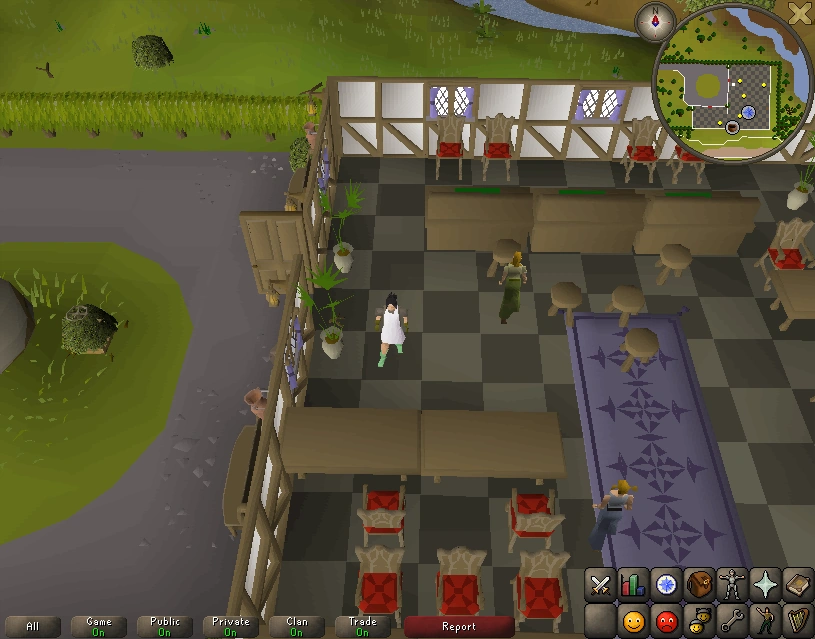
|
1 | |
| Clap on the causeway to the Wizards' Tower.
Equip an iron med helm, emerald ring and a white apron. |
|
1 | ||
| Clap on the top level of the mill, north of East Ardougne.
Equip a blue gnome robe top, HAM robe bottom and an unenchanted tiara. |
|
1 | ||
| Clap in Seers court house. Spin before you talk to me.
Equip an adamant halberd, blue mystic robe bottom and a diamond ring. |
Ironman accounts must start the Regicide quest to purchase an adamant halberd. | 
|
2 | |
| Clap in the magic axe hut. Beware of double agents. Equip only flared trousers | Level 55 Wilderness
Lockpick required to enter |
|
5 |
Cry
| Clue | Items | Notes | Map | Level |
|---|---|---|---|---|
| Cry in the Catherby Ranging shop. Bow before you talk to me.
Equip blue gnome boots, a hard leather body and an unblessed silver sickle. |
|
2 | ||
| Cry on the shore of Catherby beach. Laugh before you talk to me. Equip an adamant sq shield, a bone dagger and mithril platebody. | 
|
2 | ||
|
Cry on top of the western tree in the Gnome Agility Arena. Indicate 'no' before you talk to me. Equip a steel kiteshield, ring of forging, and green d'hide chaps. |
|
2 | ||
| Cry in the Tzhaar gem shop. Beware of the double agents! Equip a fire cape and a Toktz-xil-ul. | The toktz-xil-ul requires level 60 Ranged to equip. | 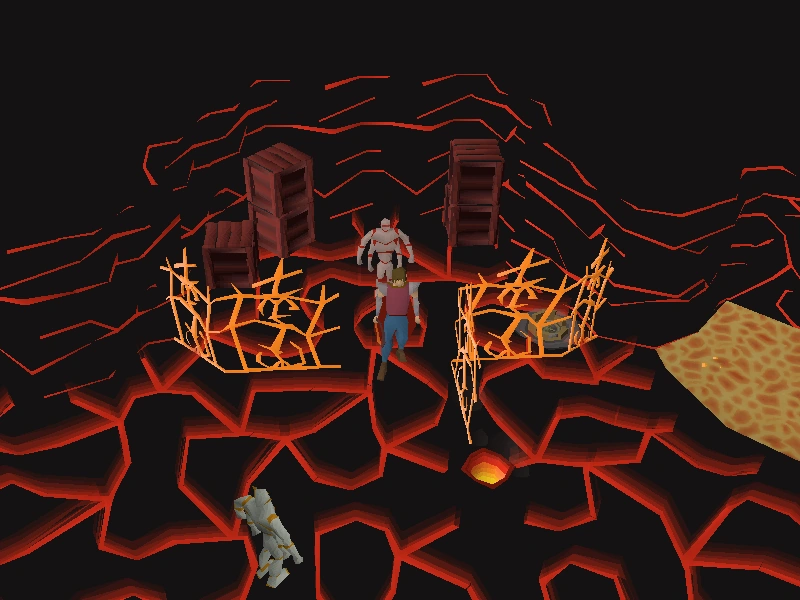
|
5 | |
| Cry in the Draynor Village jail. Jump for joy before you talk to me. Equip an adamant sword, a sapphire amulet and an adamant plateskirt. | 
|
2 |
Dance
| Clue | Items | Notes | Map | Level |
|---|---|---|---|---|
| Dance at the crossroads north of Draynor.
Equip an iron chain body, a sapphire ring and a longbow. |
|
1 | ||
| Dance in the Party Room.
Equip a steel full helmet, steel platebody and an iron plateskirt. |
|
1 | ||
| Dance in the shack in Lumbridge Swamp.
Equip a bronze dagger, iron full helmet and a gold ring. |
|
1 | ||
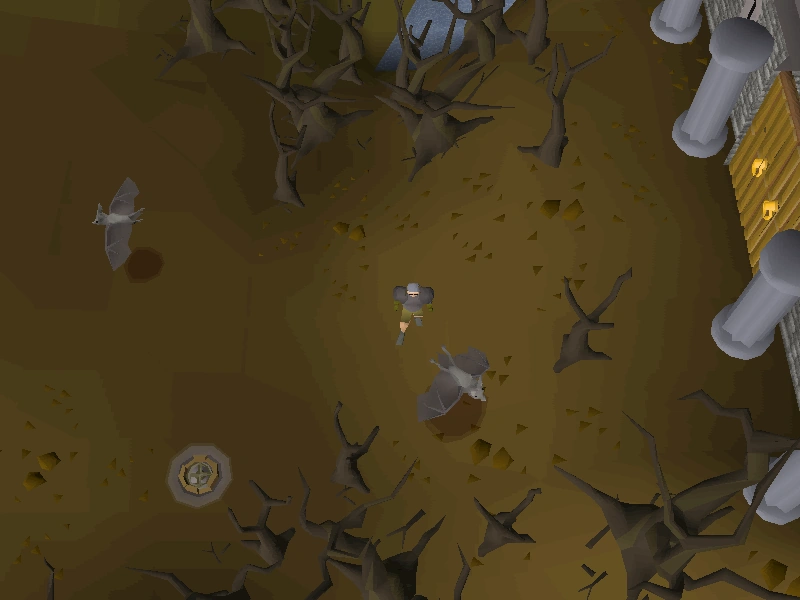
| Dance in the dark caves beneath Lumbridge Swamp. Blow a kiss before you talk to me.
Equip an air staff, Bronze full helm and an Amulet of power. |
You need a rope to enter this cave the first time You always need a light source in the caves Quickest way to caves is Lumby teleport (runes or home teleport) and using the crevice in the Lumby Castle basement although using fairy rings to the tool shack is arguable a close second (requires access and a run to the rings near the Chicken's dungeon) If using the Lumby castle basement to access the caves (pickaxe needed first time) after taking the south bound hole you will need to step one square south of the tunnel exit as the square next to the exit/return does not work when you dance. There is a STASH unit available near both of the main entrances. Building it on one of the hotspots will build them both. |
|
2 | |
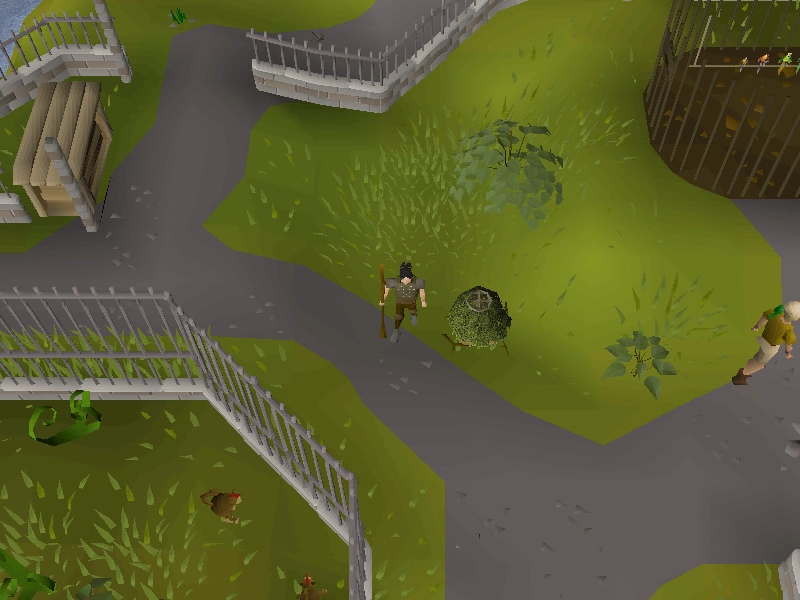
| Dance at the cat-doored pyramid in Sophanem. Beware of double agents!
Equip a ring of life, an uncharged amulet of glory and an adamant two-handed sword. |
|
3 | ||
| Dance in the centre of Canifis. Bow before you talk to me.
Equip a green gnome robe top, mithril platelegs and an iron two-handed sword. |
|
2 | ||
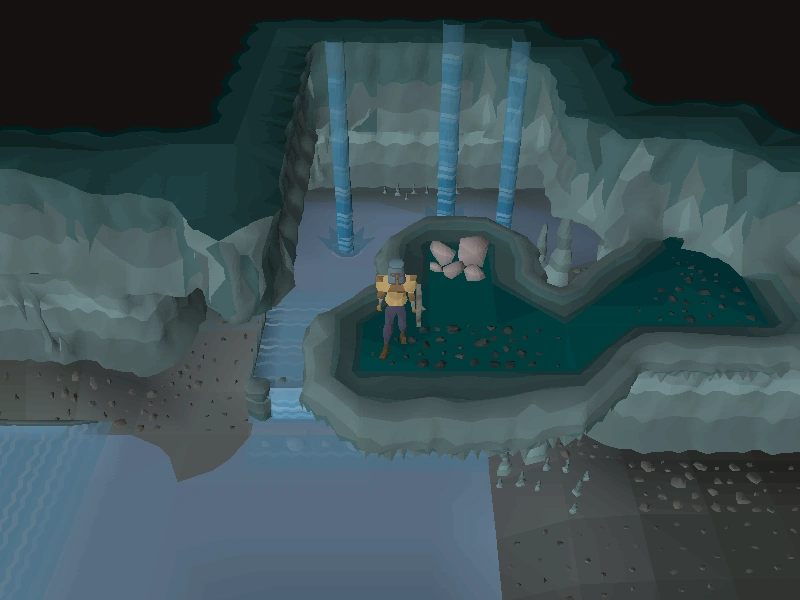
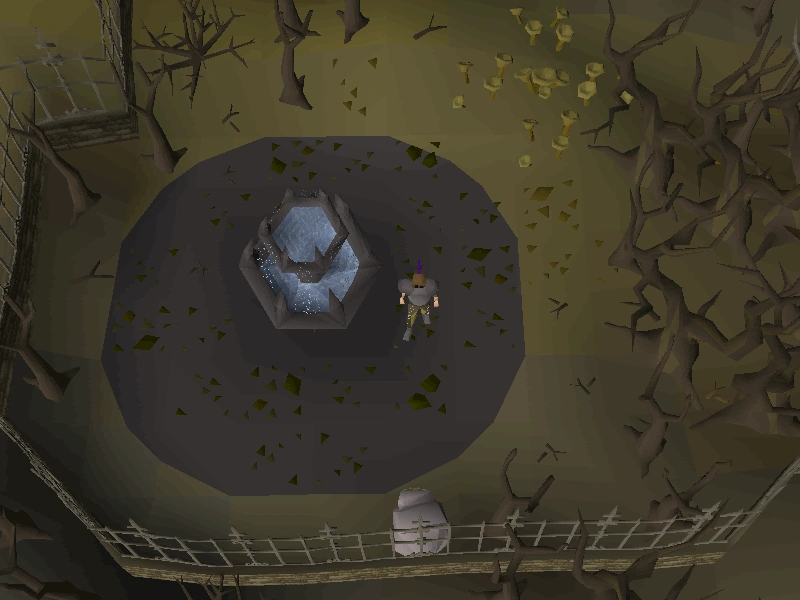
| Dance in the King Black Dragon's lair. Beware of double agents! Equip a black d'hide body, black d'hide vambs and a black dragon mask. | An anti-dragon shield is recommended to defend against the King Black Dragon's attacks. A STASH unit is found at the south-east corner of the lair for emote item storage. | 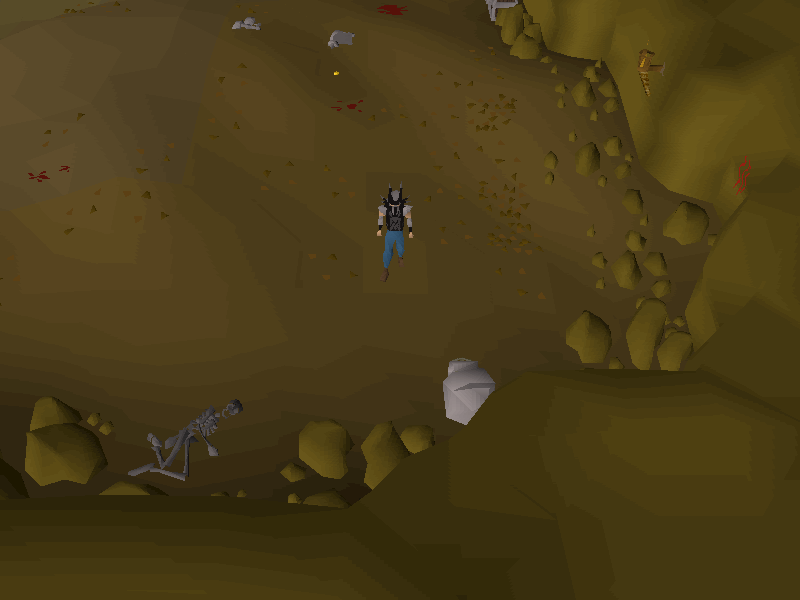
|
5 | |
| Dance in Iban's temple. Beware of double agents! Equip Iban's staff, a black mystic top, and a black mystic bottom. | Requires completion of Underground Pass. Iban's staff (u) can be used as a substitute.
Note that the temple cannot be entered until Regicide quest is started. |
|
5 | |
| Dance on the Fishing Platform. Equip barrows gloves, an amulet of glory and a dragon med helm. | Barrows gloves require full completion of Recipe for Disaster to equip. | 
|
4 | |
| Dance at the entrance to the Grand Exchange. Equip a pink skirt, pink robe top and a body tiara. | Important note: Pink skirt from Varrock, Pink robe top from Gnome Stronghold. Be aware of this! | 
|
1 |
Flap
| Clue | Items | Notes | Map | Level |
|---|---|---|---|---|
| Flap at the death altar. Beware of double agents! Equip a death tiara, a legend's cape and any ring of wealth. | The flap emote requires opening the Gift of Peace at the centre of the Stronghold of Security's first level. Accessing the death altar requires completion of Mourning's Ends Part II, and a cape of legends can only be obtained after completion of Legends' Quest. | 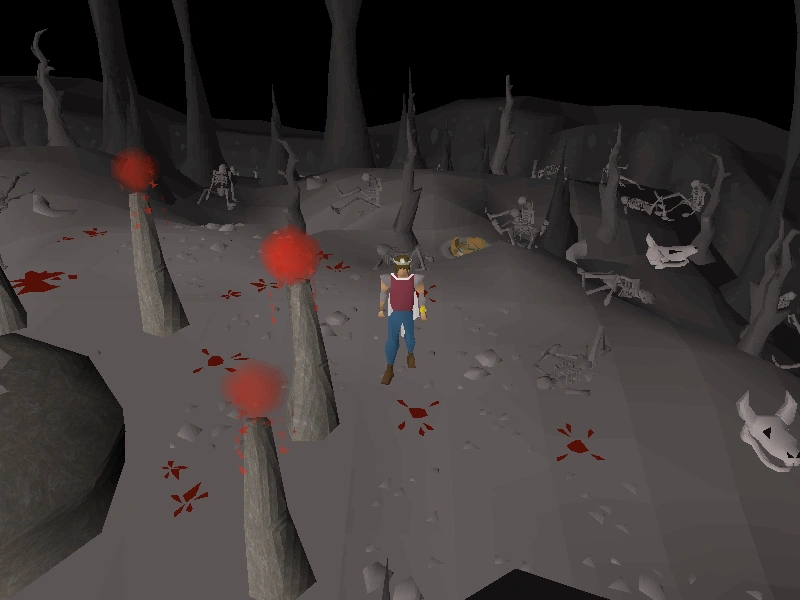
|
5 |
Goblin Salute
| Clue | Items | Notes | Map | Level |
|---|---|---|---|---|
| Goblin Salute at the Goblin Village. Beware of double agents! Equip a Bandos platebody, Bandos cloak and Bandos godsword. | The Goblin Salute emote requires partial completion of The Lost Tribe quest. | 
|
5 |
Headbang
| Clue | Items | Notes | Map | Level |
|---|---|---|---|---|
| Headbang in the mine north of Al Kharid.
Equip a desert shirt, leather gloves and leather boots. |
|
1 | ||
| Headbang at the exam center. Beware of double agents!
Equip a mystic fire staff, a diamond bracelet and rune boots. |
The Exam Centre is a facility located southeast of Varrock and South of The Digsite | 
|
3 | |
| Headbang at the top of Slayer Tower.
Equip a seercull, a combat bracelet and helm of Neitiznot. |
Equipping the Helm of Neitiznot requires completion of The Fremennik Isles. If taking shortcuts to the top, it is advised to have a nosepeg or slayer helmet in order to avoid stat draining from aberrant spectres. | 
|
4 | |
| Headbang in the Fight Arena pub. Equip a pirate bandana, a dragonstone necklace and a magic longbow. | 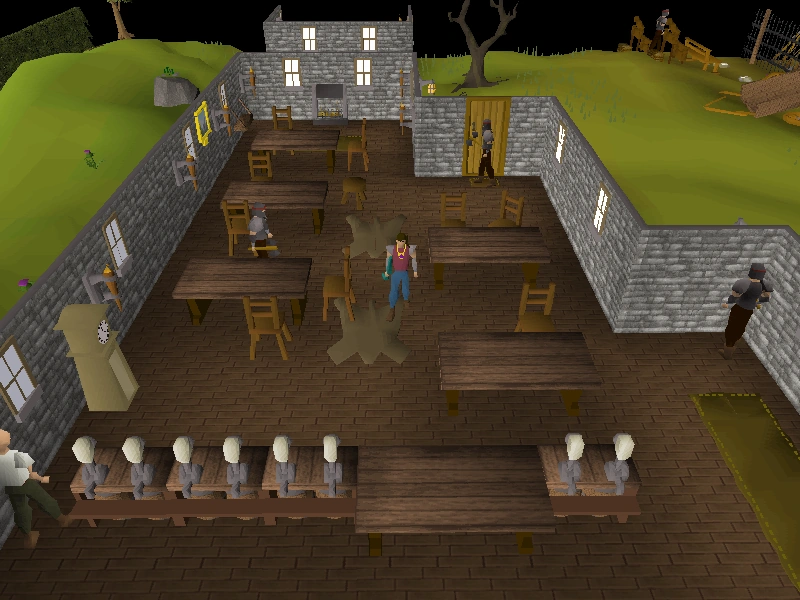
|
4 |
Jig
| Clue | Items | Notes | Map | Level |
|---|---|---|---|---|
| Dance a jig by the entrance to the Fishing Guild.
Equip an emerald ring, a sapphire amulet, and a bronze chain body. |
|
1 | ||
| Dance a jig under Shantay's Awning. Bow before you talk to me.
Equip a bruise blue snelm, an air staff and a bronze square shield. |
South of Al Kharid, Shantays Pass | 
|
2 | |
| Jig at Jiggig. Beware of double agents!
Equip a Rune spear, rune platelegs and any rune heraldic helm. |
South of Castle wars, talk to the quest starter if you haven't started Zogre Flesh Eaters and he will grant you access to the location in Jiggig you need to jig. | 
|
3 | |
| Do a jig in Varrock's rune store. Equip an air tiara and a staff of water | 
|
1 | ||
| Dance a jig by the Barrows reward chest. Beware of double agents! Equip any set of Barrows equipment. | Any set of Barrows equipment | 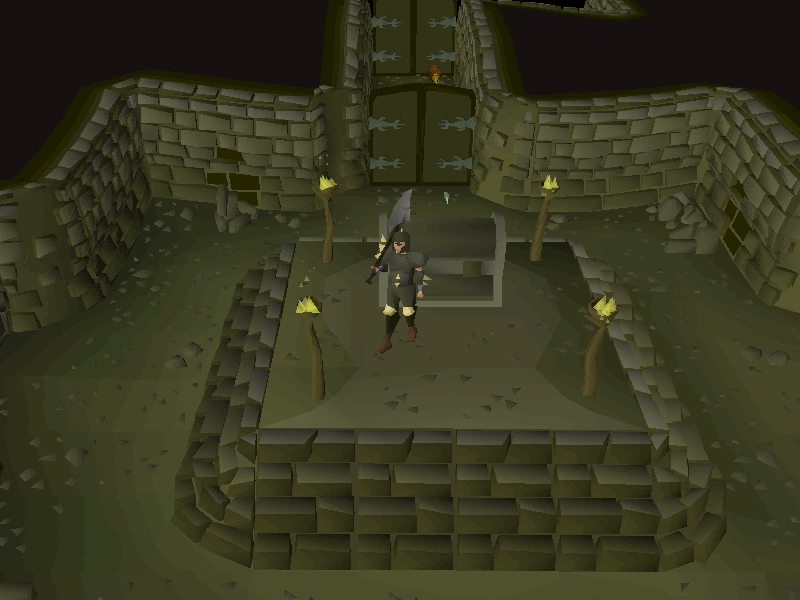
|
5 |
Jump for Joy
| Clue | Items | Notes | Map | Level |
|---|---|---|---|---|
| Jump for joy at the beehives.
Equip a desert shirt, green gnome robe bottoms and a steel axe. |
Beehives are located west of Catherby. | 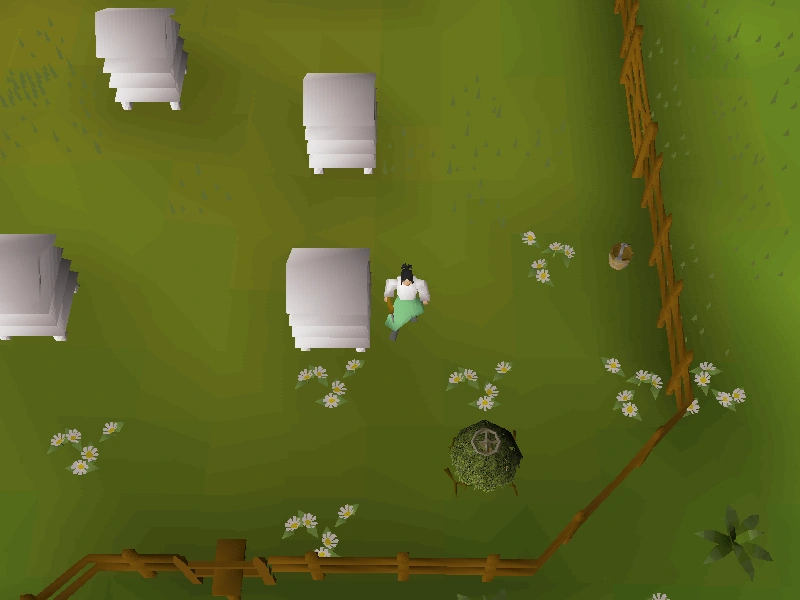
|
1 | |
| Jump for joy in Yanille bank.Dance a jig before you talk to me.
Equip a brown apron, adamant med helm and snakeskin chaps. |
|
2 | ||
| Jump for joy in the TzHaar sword shop. Shrug before you talk to me.
Equip a steel longsword, blue d'hide body and blue mystic gloves. |
|
2 | ||
| Jump for joy in the Ancient Cavern.
Equip a granite shield, splitbark body, and any rune heraldic helm. |
Players need to have started Barbarian Training in order to enter the caverns. (Double check info).
The rune heraldic helm is the rune helm from Treasure Trails not the Painted heraldic armour from Player-owned house. |
|
4 | |
| Jump for joy at the Neitiznot rune rock.
Equip rune boots, a proselyte hauberk and a dragonstone ring. |
Players must complete Fremennik Isles in order to access the Neitiznot rune rock. | 
|
4 | |
| Jump for joy in the centre of Zul-Andra. Beware of double agents! Equip a dragon 2h sword, bandos boots and an obsidian cape. | Partial completion of Regicide is required to reach Zul-Andra. | 
|
5 |
Laugh
| Clue | Items | Notes | Map | Level |
|---|---|---|---|---|
| Laugh at the crossroads south of the Sinclair Mansion. Equip a cowl, blue wizard robe top and an iron scimitar. | 
|
1 | ||
| Laugh in Jokul's tent in the Mountain Camp.
Beware of double agents! Equip a rune full helmet, blue d'hide chaps and a fire battlestaff. |
Bring rope if you haven't completed the Mountain Daughter quest. Go up the top path and use on the boulder. |
|
3 | |
| Laugh by the fountain of heroes.
Equip splitbark legs, dragon boots and a Rune longsword. |
Completion of Heroes' Quest is required. | 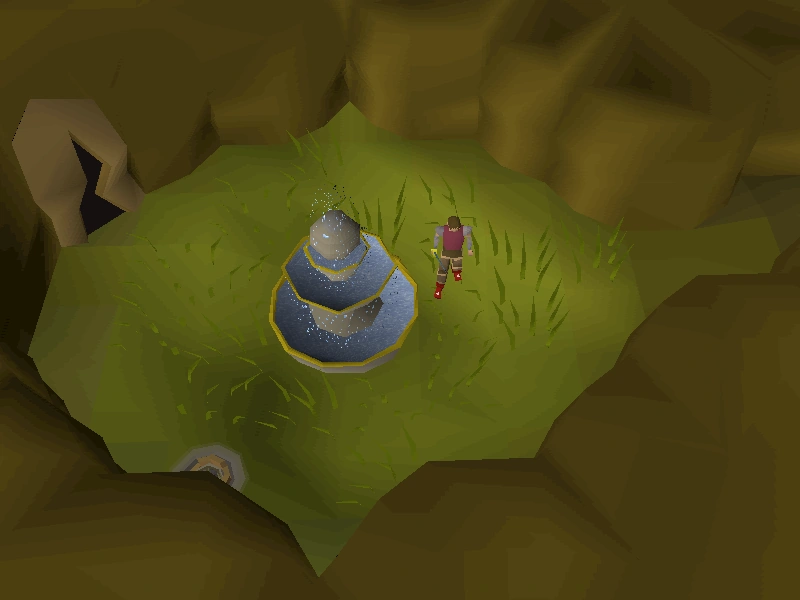
|
4 | |
| Laugh in front of the gem store in Ardougne market. Equip a Castlewars bracelet, a dragonstone amulet and a ring of forging. | 
|
4 |
Panic
| Clue | Items | Notes | Map | Level |
|---|---|---|---|---|
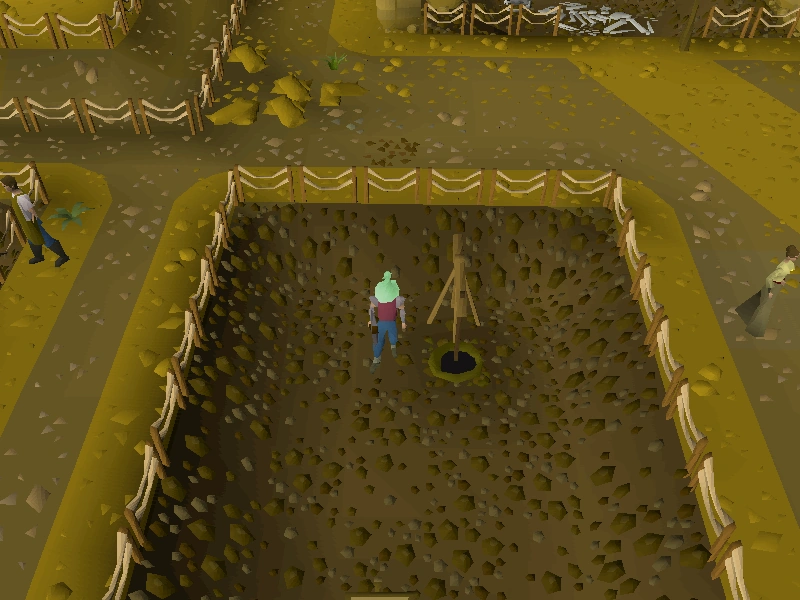
| Panic in the Limestone Mine.
Equip bronze platelegs, a steel pickaxe and a steel medium helmet. |
Located east of the Lumber Yard | 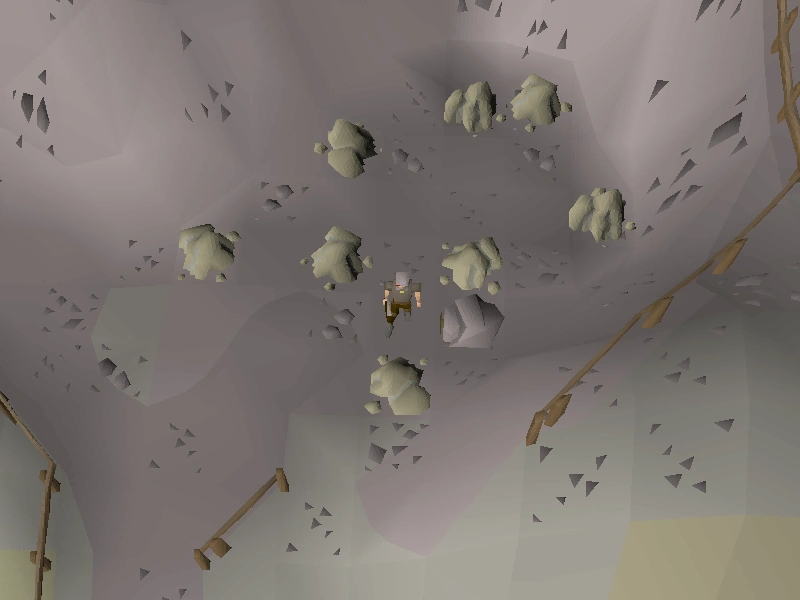
|
1 | |
| Panic on the pier where you catch the Fishing trawler
Have nothing equipped at all when you do. |
None | Most north western dock in Port Khazard, east of the Fight Arena | 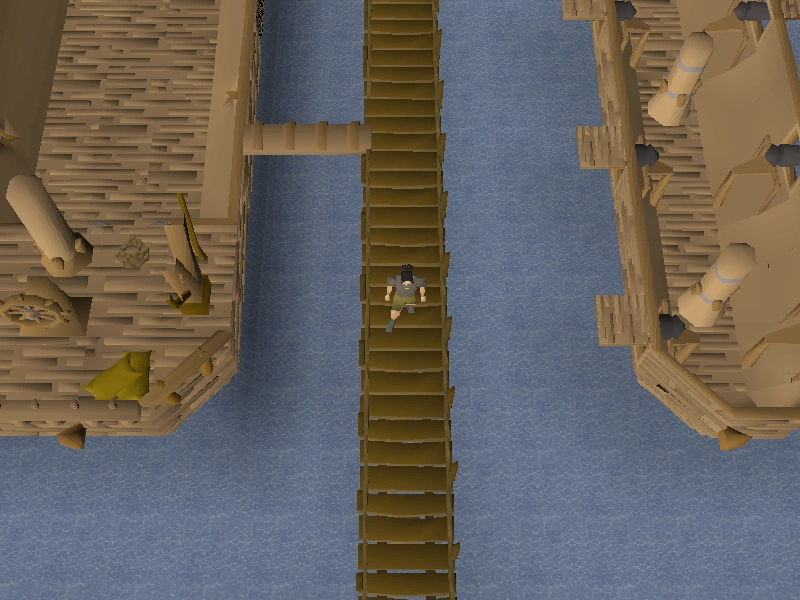
|
1 |
| Panic by the mausoleum in Morytania. Wave before you speak to me.
Equip a mithril plateskirt, maple longbow and no boots. |
Starting Creature of Fenkenstrain quest is required to access the area. Go northwest through the experiments cave, entered through the tombstone southeast of the castle. Remember, no boots. | 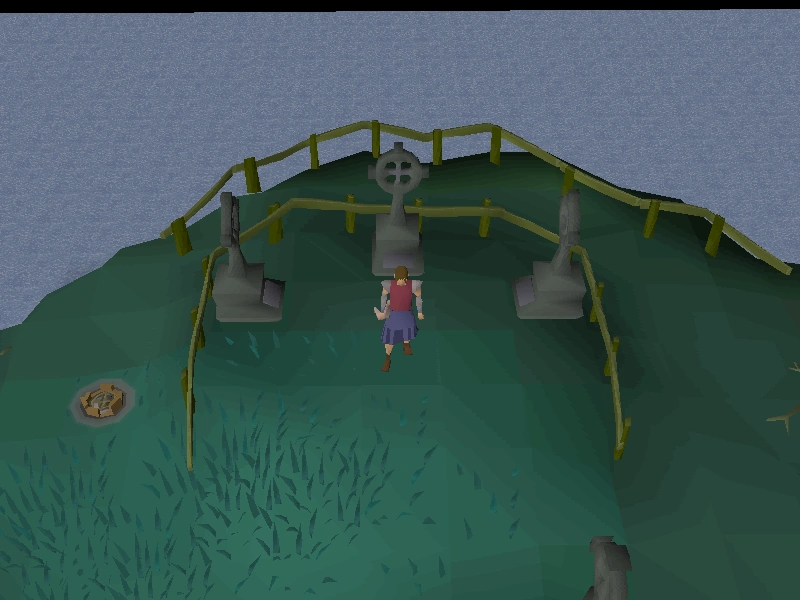
|
2 | |
| Panic on the Wilderness volcano bridge. Beware of double agents!
Equip any headband and crozier. |
Required: 60 The Wilderness Volcano is located in the northeast corner of the Wild. Players should be cautious of player killers in addition to the items lost upon death. |
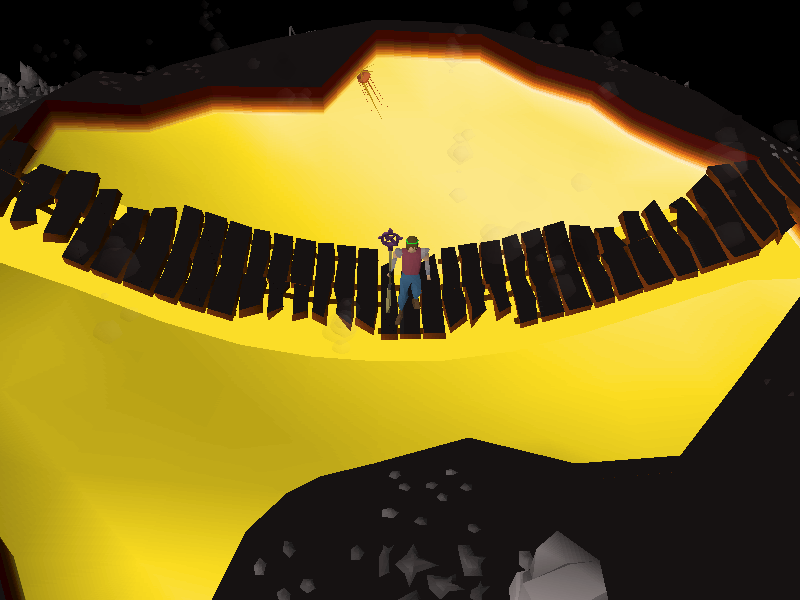
|
3 | |
| Panic in the heart of the Haunted Woods. Beware of double agents!
Have no items equipped when you do. |
Nothing | The location is east of the Fairy ring ALQ in the Haunted Woods. Players should be careful of the Vampires summoned by the spider roaming around that area. | 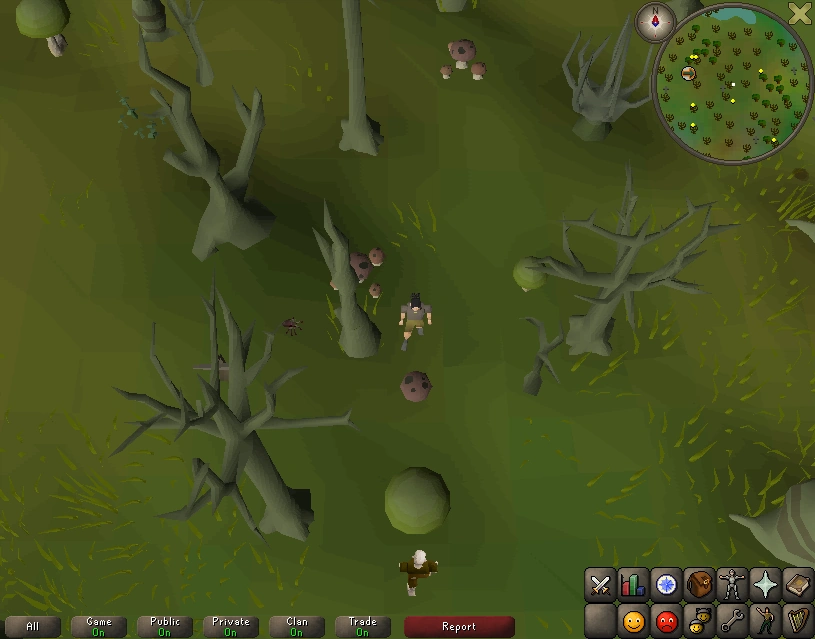
|
3 |
| Panic by the pilot on White Wolf Mountain. Beware of double agents!
Equip mithril platelegs, a ring of life, and a rune axe. |
Panic by Captain Bleemadge on White Wolf Mountain. Be careful of the aggressive level 73 Big Wolf. | 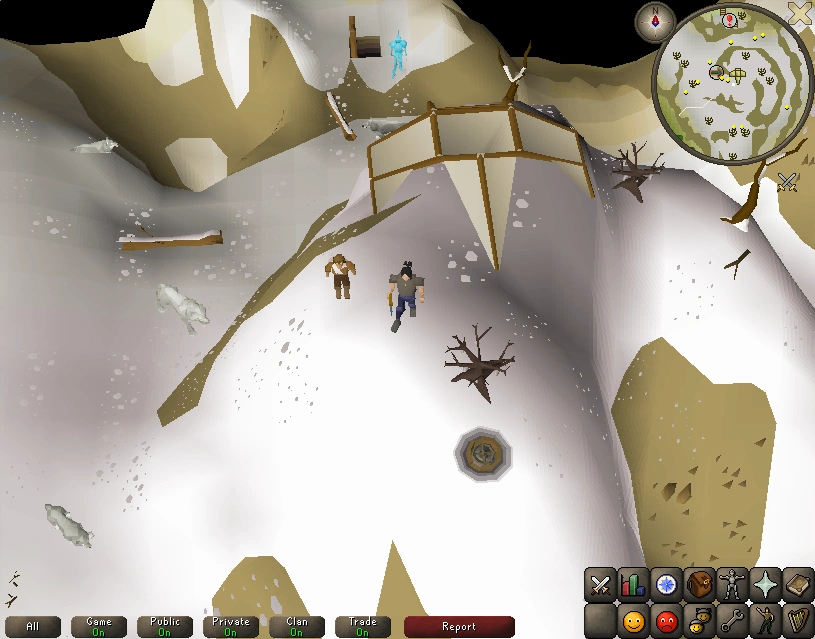
|
3 | |
| Panic at the area where flower meets snow. Equip blue d'hide vambs, a dragon spear and a rune plateskirt. | Panic by the trollweiss flowers after sledding down Trollweiss Mountain. | 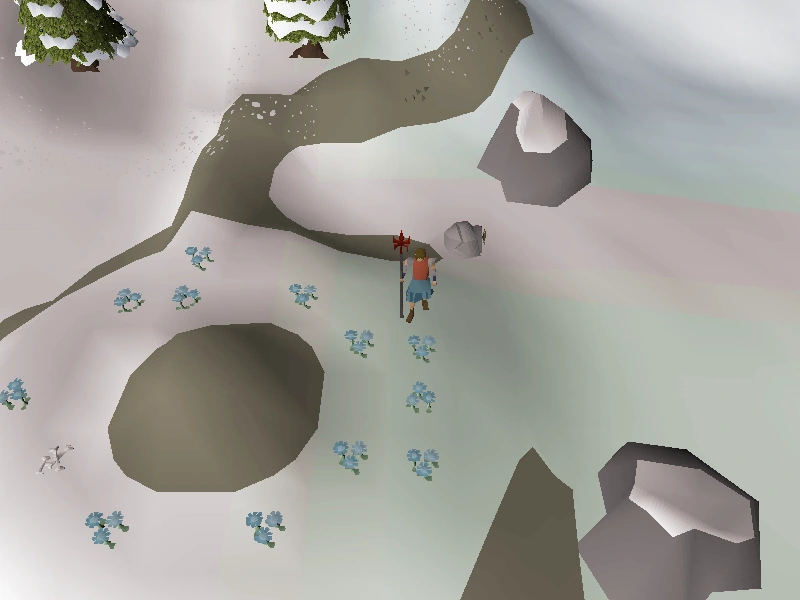
|
4 | |
| Panic by the big egg where no one dare goes and the ground is burnt. Beware of double agents! Equip a dragon med helm, a TokTz-Ket-Xil, a brine sabre, rune platebody and an uncharged amulet of glory. | Panic by the big egg on the east side of Lava Dragon Isle. Be careful of the lava dragons and PK-ers roaming the area. | 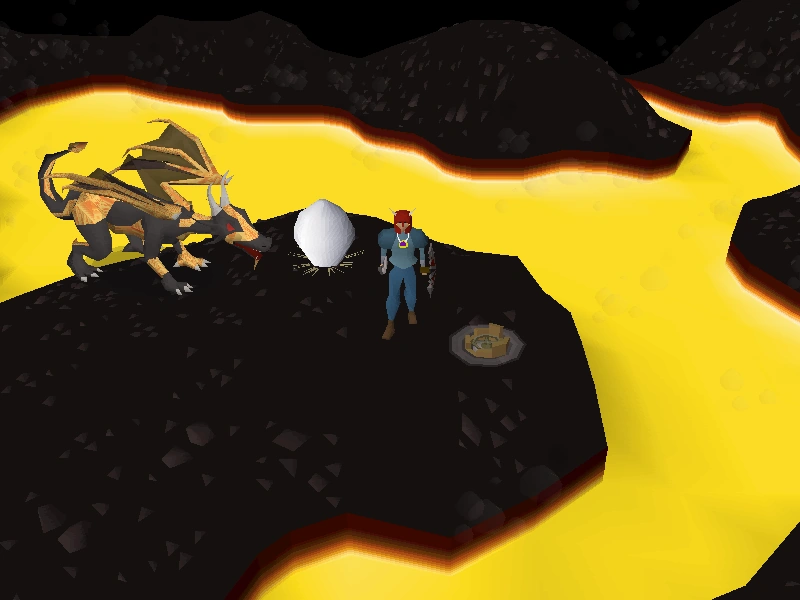
|
5 |
Push up
| Clue | Items | Notes | Map | Level |
|---|---|---|---|---|
| Do a push up at the bank of the Warrior's guild. Beware of double agents! Equip a dragon battleaxe, a dragon defender and a slayer helm of any kind. | Any variant of slayer helmet is acceptable. The push up emote must be unlocked as well. | 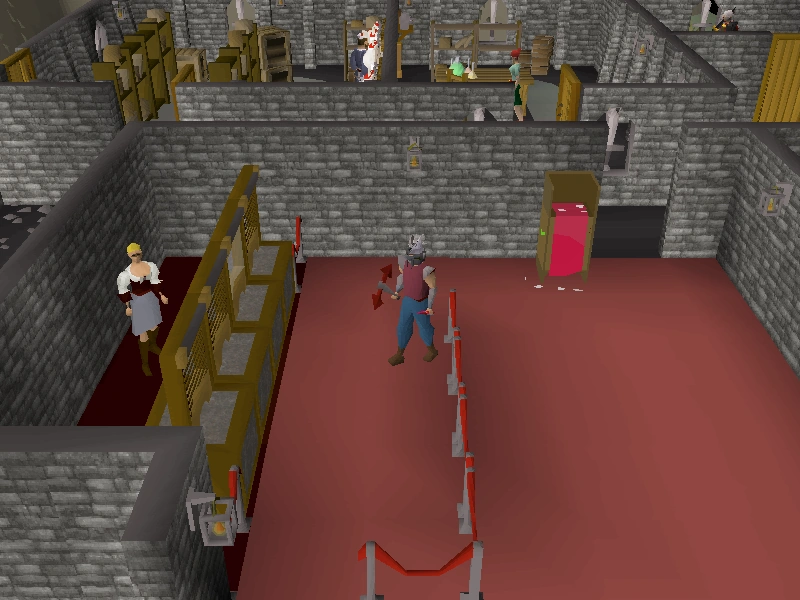
|
5 |
Raspberry
| Clue | Items | Notes | Map | Level |
|---|---|---|---|---|
| Blow a raspberry at the monkey cage in Ardougne Zoo.
Equip a studded leather body, bronze platelegs and a normal staff with no orb. |
|
1 | ||
| Blow raspberries outside the entrance to Keep Le Faye.
Equip a coif, an iron platebody and leather gloves |
|
1 | ||
| Blow a raspberry in the Fishing Guild bank. Beware of double agents!
Equip an elemental shield, blue d'hide chaps and a rune warhammer. |
|
3 |
Salute
| Clue | Items | Notes | Map | Level |
|---|---|---|---|---|
| Salute in the banana plantation. Beware of double agents!
Equip a diamond ring, amulet of power, and nothing on your chest and legs. |
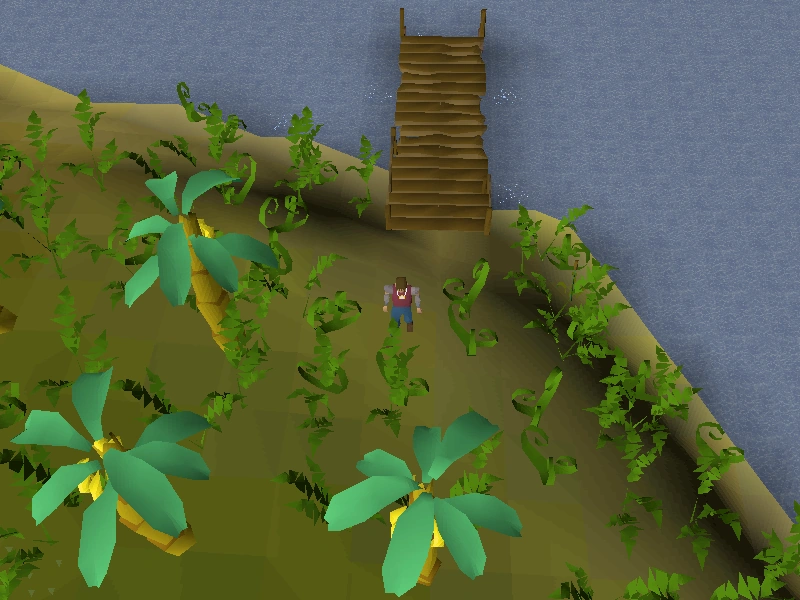
|
3 | ||
| Salute in the warriors' guild bank.
Equip only a black salamander. |
Black salamanders require 70 Ranged, 70 Magic, and 70 Attack to equip. | 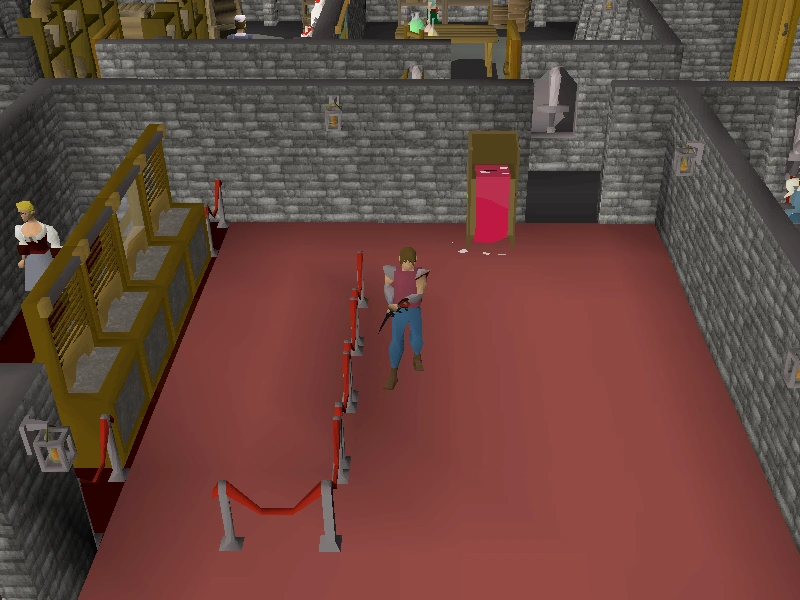
|
4 | |
| Salute in the centre of the mess hall. Beware of double agents! Equip a rune halberd, rune platebody and an amulet of strength | Teleport to Kourend teleports the player just north of the mess. | 
|
3 |
Shrug
| Clue | Items | Notes | Map | Level |
|---|---|---|---|---|
| Shrug in the mine near Rimmington.
Equip a gold necklace, a gold ring and a bronze spear. |
|
1 | ||
| Shrug in Catherby bank. Yawn before you talk to me.
Equip a maple longbow, green d'hide chaps and an iron med helm. |
|
2 | ||
| Shrug in the Zamorak temple found in the Eastern Wilderness. Beware of double agents!
Equip rune platelegs, an iron platebody and blue d'hide vambraces. |
It is highly recommended that players pray protect from magic the temple is a multi-combat area with aggressive Elder chaos druids. | 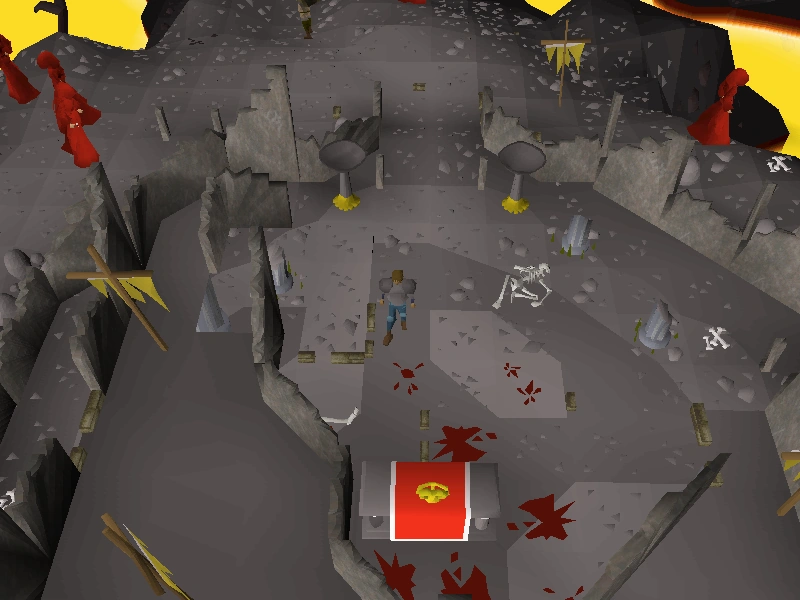
|
3 | |
| Shrug in the Shayzien command tent. Equip a blue mystic robe bottom, a rune kiteshield and any bob shirt. | The command tent is the southernmost tent in the Shayzien House. | 
|
4 |
Slap Head
| Clue | Items | Notes | Map | Level |
|---|---|---|---|---|
| Slap your head in the centre of the Kourend catacombs. Beware of double agents! Equip the arclight and an amulet of the damned. | Teleport to Kourend teleports the player directly to the catacomb's main entrance. Partially charged items work. | 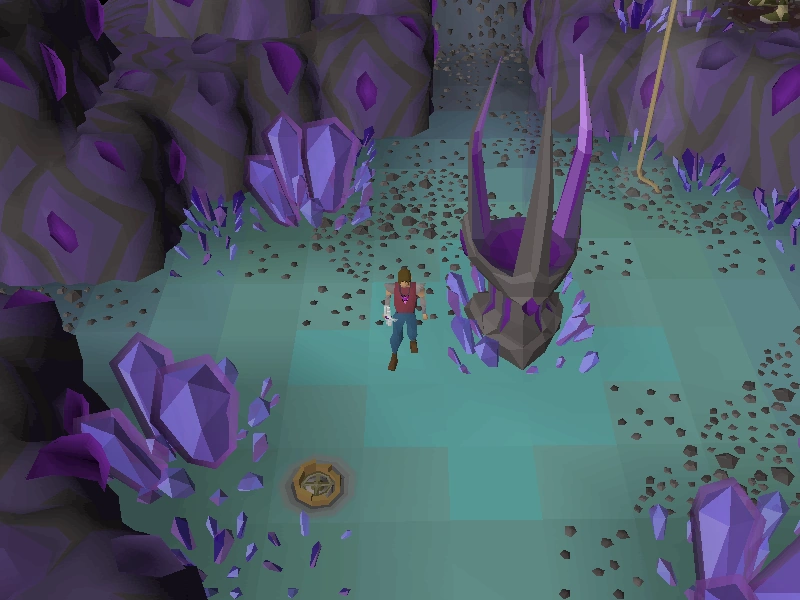
|
5 |
Spin
| Clue | Items | Notes | Map | Level |
|---|---|---|---|---|
| Spin at the crossroads north of Rimmington.
Equip a green gnome hat, cream gnome top and leather chaps. |
|
1 | ||
| Spin in Draynor Manor by the fountain.
Equip an iron platebody, studded leather chaps and a bronze full helmet. |
|
1 | ||
| Spin in front of the Soul altar. Beware of double agents! Equip a dragon pickaxe, helm of neitiznot and a pair of rune boots. | Completion of The Fremennik Isles is required to wear the helm of neitiznot. A dragon pickaxe (or) works too. | 
|
5 | |
| Spin in the Varrock Castle courtyard.
Equip a black axe, a coif and a ruby ring. |
|
1 | ||
| Spin in West Ardougne Church.
Equip a dragon spear and red d'hide chaps. |
|
4 | ||
| Spin on the bridge by the Barbarian Village. Salute before you talk to me.
Equip purple gloves, a steel kiteshield and a mithril full helm. |
|
2 |
Stamp
| Clue | Items | Notes | Map | Level |
|---|---|---|---|---|
| Stamp in the Enchanted valley west of the waterfall. Beware of double agents! Equip a dragon axe. | Fairy ring code BKQ; requires partial completion of Fairytale II - Cure a Queen and the Stamp emote unlocked. | 
|
5 |
Think
| Clue | Items | Notes | Map | Level |
|---|---|---|---|---|
| Think in middle of the wheat field by the lumbridge mill.
Equip a blue gnome robetop, a turquoise gnome robe bottom and an oak shortbow. |
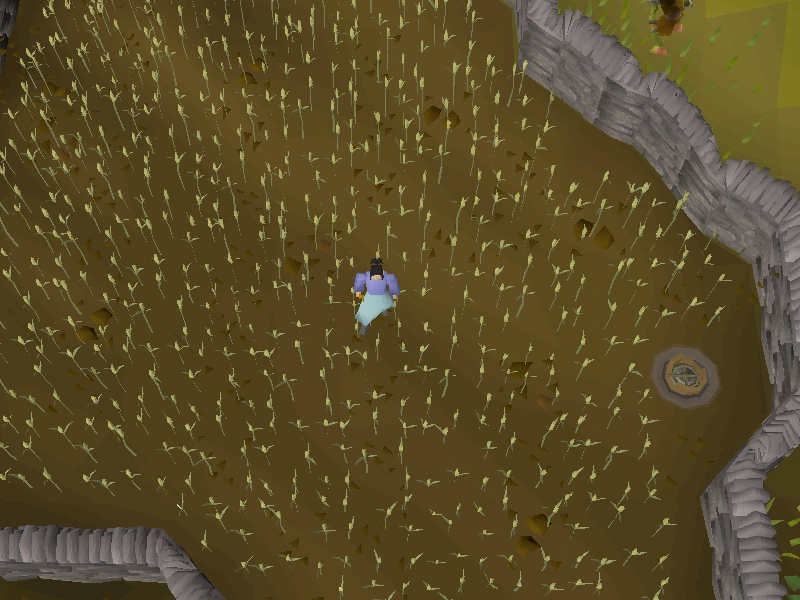
|
1 | ||
| Think in the centre of the Observatory. Spin before you talk to me.
Equip a mithril chainbody, green d'hide chaps and a ruby amulet. |
Players must navigate through the Observatory Dungeon to reach this clue. | 
|
2 |
Wave
| Clue | Items | Notes | Map | Level |
|---|---|---|---|---|
| Wave along the south fence of the Lumber Yard.
Equip a hard leather body, leather chaps and a bronze axe. |
|
1 | ||
| Wave in the Falador gem store.
Equip a Mithril pickaxe, Black platebody and an Iron Kiteshield. |

|
1 | ||
| Wave on Mudskipper Point.
Equip a black cape, leather chaps and a steel mace. |
The fairy ring code AIQ teleports you to the correct spot. | 
|
1 | |
| Wave on the the nothern wall of the Castle Drakan. Beware of double agents! Wear a dragon sq shield, splitbark body and any boater. | Partial completion of Darkness of Hallowvale is required. Any coloured boater will work. | 
|
5 |
Yawn
| Clue | Items | Notes | Map | Level |
|---|---|---|---|---|
| Yawn in the 7th room of Pyramid Plunder. Beware of double agents! Equip a pharoah sceptre and a full set of menaphite robes. | 81 Thieving is required to reach this room, in addition to completing Icthlarin's Little Helper. Any amount of charges will work for the Pharaoh's sceptre, and any coloured menaphite clothing will work as well. | 
|
5 | |
| Yawn in the Varrock library.
Equip a green gnome robe top, HAM robe bottom and an iron warhammer. |

|
1 | ||
| Yawn in Draynor Marketplace.
Equip studded leather chaps, an iron kiteshield and a steel longsword. |
|
1 | ||
| Yawn in the Castle Wars lobby. Shrug before you talk to me.
Equip ruby amulet, a mithril scimitar and a Wilderness cape. |
|
2 | ||
| Yawn in the rogues' general store. Beware of double agents!
Equip an adamant square shield, blue dragon vambraces and a rune pickaxe. |
Bandit camp general store in level 23 wilderness, north of the Dark Warriors' Fortress | 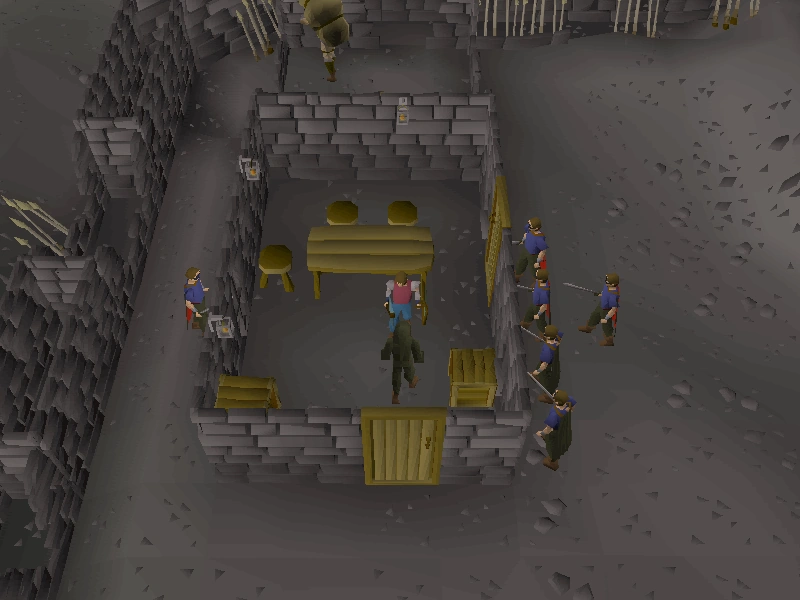
|
3 | |
| Yawn at the top of Trollheim.
Equip a lava battlestaff, black d'hide vambraces and a mind shield. |
Requires Elemental Workshop I+II and parts of Troll Stronghold completed. | 
|
4 | |
| Yawn in the centre of Arceuus library. Nod your head before you talk to me.
Equip blue d'hide vambraces, adamant boots and an adamant dagger. |
The fairy ring code CIS teleports you north of the library, although this requires paying 80,000 coins to Trossa to unlock the fairy ring. Use the "yes" emote | 
|
2 |
Miscellaneous
| Clue | Items | Notes | Map | Level |
|---|---|---|---|---|
| Swing a bullroarer at the top of the watchtower. Beware of double agents! Equip a dragon plateskirt, climbing boots and a dragon chainbody. | Partial completion of Legends' Quest is required to obtain the bull roarer. Completion of Watchtower Quest is required. | 
|
5 |
| Items | |||||
| Guides |
| ||||
| NPCs |
Uri • Sherlock • Falo the Bard • Double agent • Ancient Wizard • Armadylian guard • Bandosian guard • Brassican Mage • Saradomin wizard • Zamorak wizard | ||||
| Other |
Clue droppers (Easy • Medium • Hard • Elite) • Emote items • Rewards • STASH • World map | ||||